
Home

Latest Recipes Grid for Homepage

Aubergine and Chickpea Bites

Instructions: Preheat oven: Set your oven to 200°C (180°C fan). Prepare aubergines: Spray the aubergine...
Read More
Cheesy Sausage and Egg Hash Brown Casserole This Cheesy Sausage and Egg Hash Brown Casserole is a hearty and satisfying breakfast or brunch dish that's packed with flavor. The combination of savory sausage, fluffy eggs, and crispy hash browns creates a delicious and comforting meal. Perfect for a weekend brunch or a busy weekday morning, this casserole is easy to prepare and sure to please everyone. Ingredients: 1 pound extra lean ground pork 1/2 teaspoon salt 1/4 teaspoon ground sage 1/2 teaspoon paprika 1 pound flour potatoes, grated 5 large eggs 4.5 ounces grated cheddar or red Leicester cheese Salt and pepper to taste Optional: 1 spring onion, finely sliced Cooking spray Instructions: Preheat oven: Set your oven to 350°F (175°C). Prepare potatoes: Peel and grate the potatoes. Squeeze out excess moisture. Season with salt and pepper. Spread on a parchment-lined baking sheet and spray with cooking spray. Bake for 10 minutes, or until slightly dried out. Cook sausage: Heat a skillet over medium-high heat. Add the ground pork, salt, sage, and paprika. Cook until lightly browned, breaking it up with a spoon. Transfer to a casserole dish. Assemble casserole: Whisk the eggs and pour over the sausage. Top with the partially cooked grated potatoes. Bake: Cover the casserole and bake for 30 minutes, or until the potatoes are golden and crispy. Uncover and top with grated cheese. Bake for an additional 5 minutes, or until the cheese is melted. Serve: Optional: Garnish with sliced spring onions, chives, or fresh Italian parsley. Enjoy!

Cheesy Sausage and Egg Hash Brown Casserole

Instructions: Preheat oven to 180c fan, 200c, 400f (gas mark 6). Peel and grate potatoes...
Read More

Frozen Lemon Cheesecake Bites

Instructions: Prepare the Cream Cheese: Beat the reduced-fat or skimmed cream cheese with your chosen...
Read More
Roasted Ginger Plums Recipe Looking for a delicious and healthy dessert? These Roasted Ginger Plums are the perfect choice. The sweet, tangy plums are complemented by the spicy kick of ginger and the crunchy texture of Hi-fi crumbs. This low-calorie dessert is perfect for those watching their weight, without compromising on taste. About Time: The recipe for Roasted Ginger Plums takes approximately 20-25 minutes to prepare and cook. This includes: 10-15 minutes for roasting the plums 3-5 minutes for caramelizing the Hi-fi crumbs 5½ Syns per serving Go to the next page to get the Ingredients Ingredients: 4 large ripe plums, halved and pitted Generous pinch of ground ginger 2 Gingerbread Hi-fi bars, finely chopped Fat-free natural Greek-style yogurt, for serving Go to the next page to get the Instructions Instructions: Preheat oven: Set your oven to 200°C/fan 180°C/gas 6. Prepare plums: Place the plum halves, cut-side up, in a shallow roasting dish. Pour over 100ml of cold water and sprinkle with ground ginger. Roast: Roast for 10-15 minutes, or until slightly softened but still holding their shape. Check after 10 minutes, as cooking time may vary depending on plum ripeness. Add crumbs: Remove the plums from the oven and sprinkle with the majority of the chopped Hi-fi bars, concentrating them on the cut sides. Finish roasting: Return the plums to the oven for 3-5 minutes, or until the crumbs are warmed through and begin to caramelize. Serve: Serve the plums with fat-free Greek-style yogurt, a drizzle of the roasting juices, and the remaining Hi-fi crumbs. Note: For a healthier option, consider using a natural sweetener like stevia instead of the Hi-fi bars.

Roasted Ginger Plums Recipe

Instructions: Preheat oven: Set your oven to 200°C/fan 180°C/gas 6. Prepare plums: Place the plum...
Read More
Orange Cheesecake Recipe Craving a delicious dessert without the guilt? This light and tangy orange cheesecake is the perfect solution. Made with low-fat ingredients and a touch of sweetness, it's a satisfying treat that won't derail your weight loss goals. The creamy texture and bright citrus flavor make this cheesecake a delightful addition to any meal or special occasion. Enjoy it as a post-dinner indulgence or share it with friends and family. About Time Serves: 10 | Prep time: 30 minutes | Chill time: 6-8 hours Ingredients: 12 reduced-fat digestive biscuits, finely crushed 50g Flora Light, melted 11.5g sachet Hartley's Orange Sugar Free Jelly crystals 12g sachet powdered gelatine 3 x 175g pots Müllerlight Vanilla yogurt 300g plain quark Finely grated zest of 1 orange 2 level tbsp sweetener 25g dark or milk chocolate, finely grated Instructions: Prepare the base: Combine crushed biscuits with melted Flora Light in a bowl. Press the mixture into the base of a 20cm round, springform cake tin. Cover with cling film and freeze. Make the filling: In a measuring jug, dissolve jelly crystals and gelatine in 200ml boiling water. Let cool. Combine ingredients: In a large bowl, beat together yogurts, quark, orange zest, and sweetener. Add the cooled jelly mixture and blend until smooth. Assemble the cheesecake: Pour the filling over the frozen biscuit base. Chill for 6-8 hours, or until set. Decorate and serve: Remove the cheesecake from the tin and transfer to a serving plate. Decorate with grated chocolate and slice into 10 portions.

Orange Cheesecake Recipe

Instructions: Prepare the base: Combine crushed biscuits with melted Flora Light in a bowl. Press...
Read More
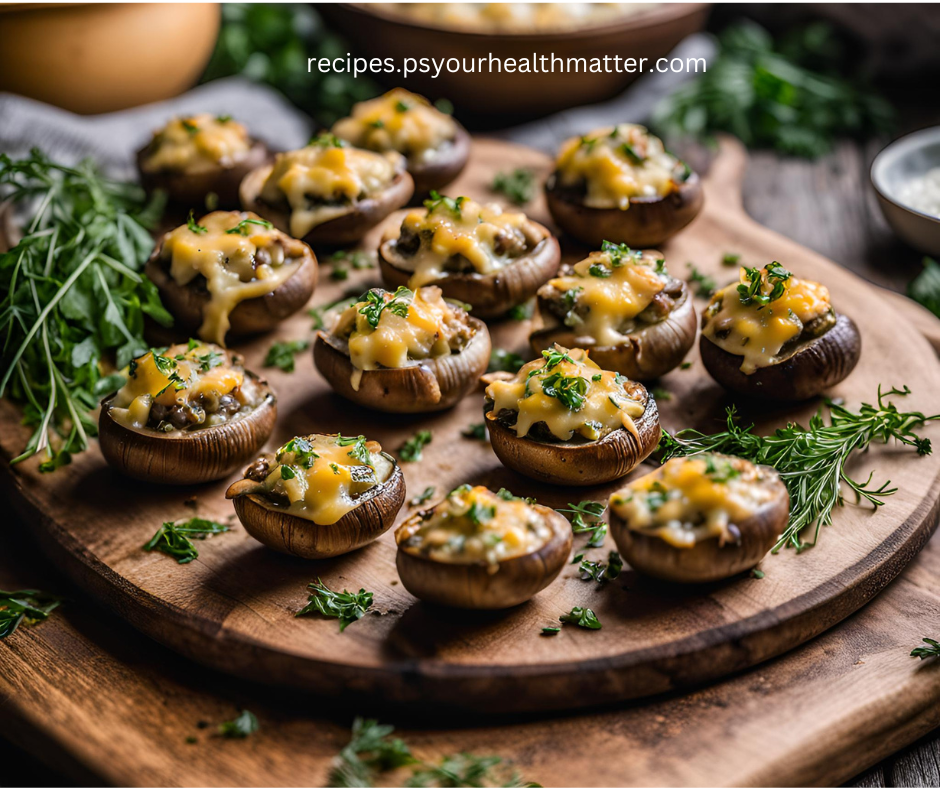
Crispy Air Fryer Stuffed Mushrooms

Instructions: Preheat oven: Set your oven to 220°C/fan 200°C/gas 7. Prepare squash: Cook the butternut...
Read More

Beef Quarter Pounder Burgers

Beef Quarter Pounder Burgers Craving a juicy burger without the guilt? These Beef Quarter Pounder...
Read More
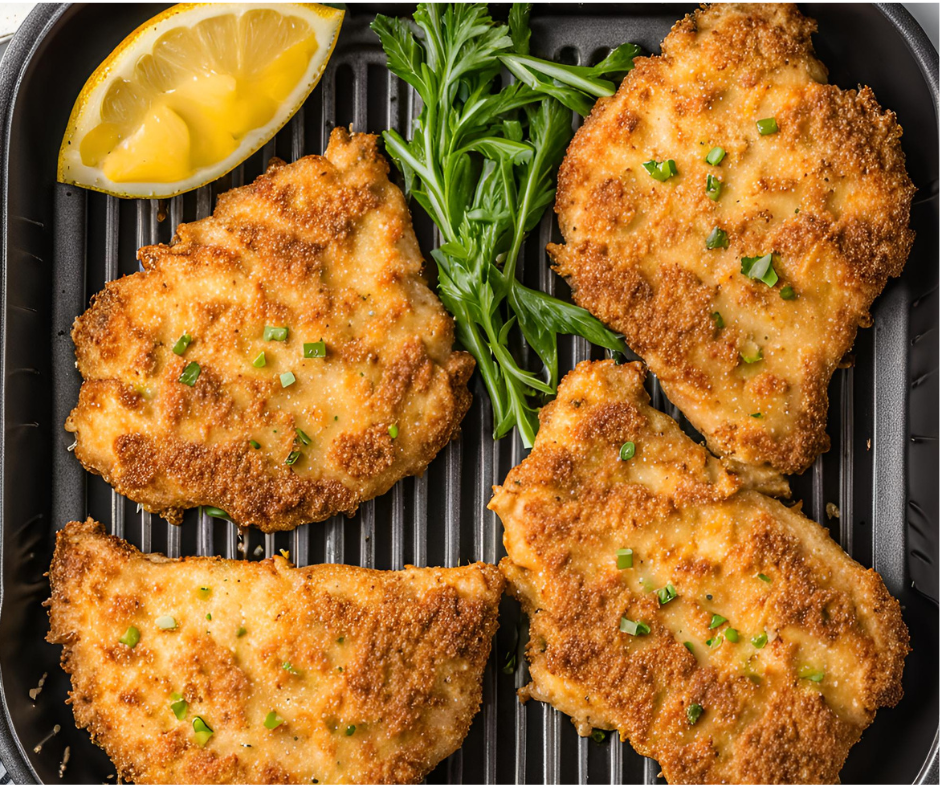
Air Fryer Golden Parmesan Crusted Chicken

Air Fryer Golden Parmesan Crusted Chicken

Instructions: Marinate: Combine yogurt and lemon juice in a ziplock bag. Add chicken cutlets and...
Read More
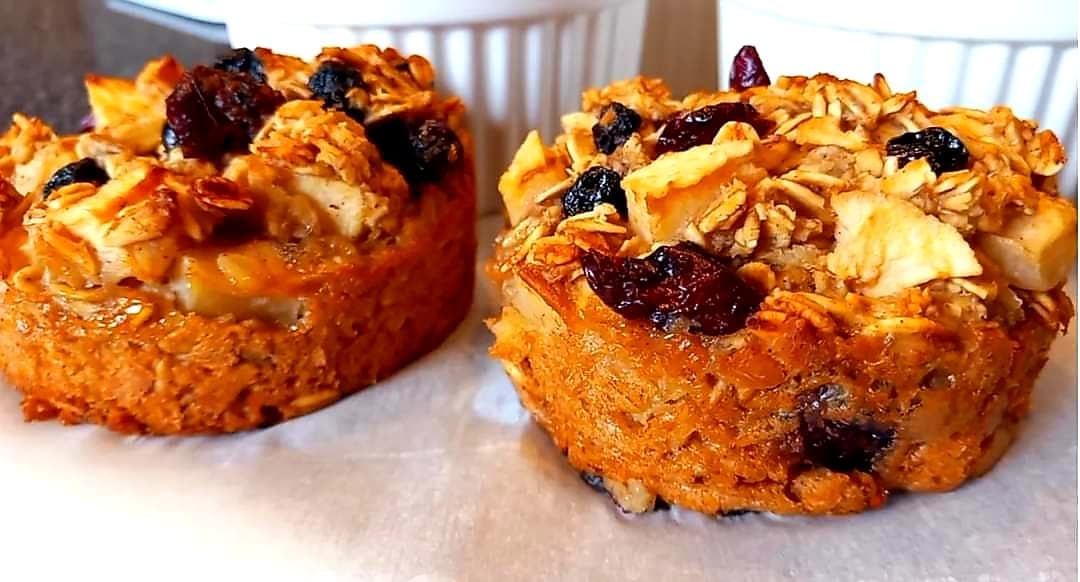
Air Fryer Apple Oatmeal Cups

INSTRUCTIONS: Preheat air fryer to 350 F. Spray 12 cavity cupcake pan with cooking spray...
Read More

Leave a Comment