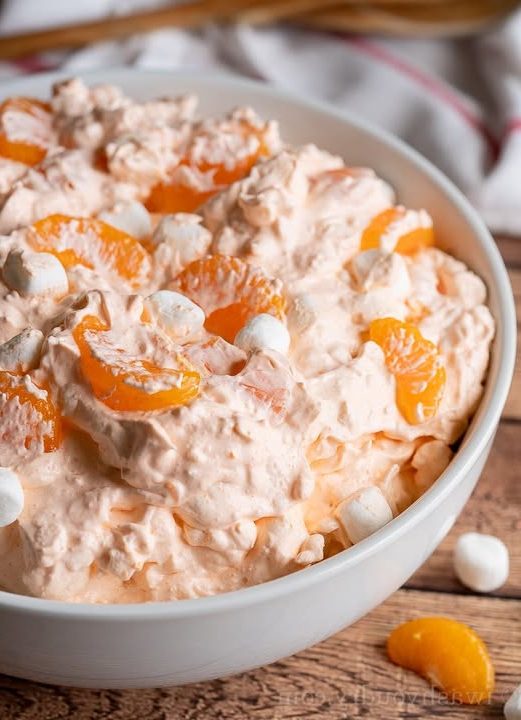
Orange fluff Recipe
Orange fluff Recipe This light and refreshing Orange Fluff is a guilt-free treat perfect for...
Read More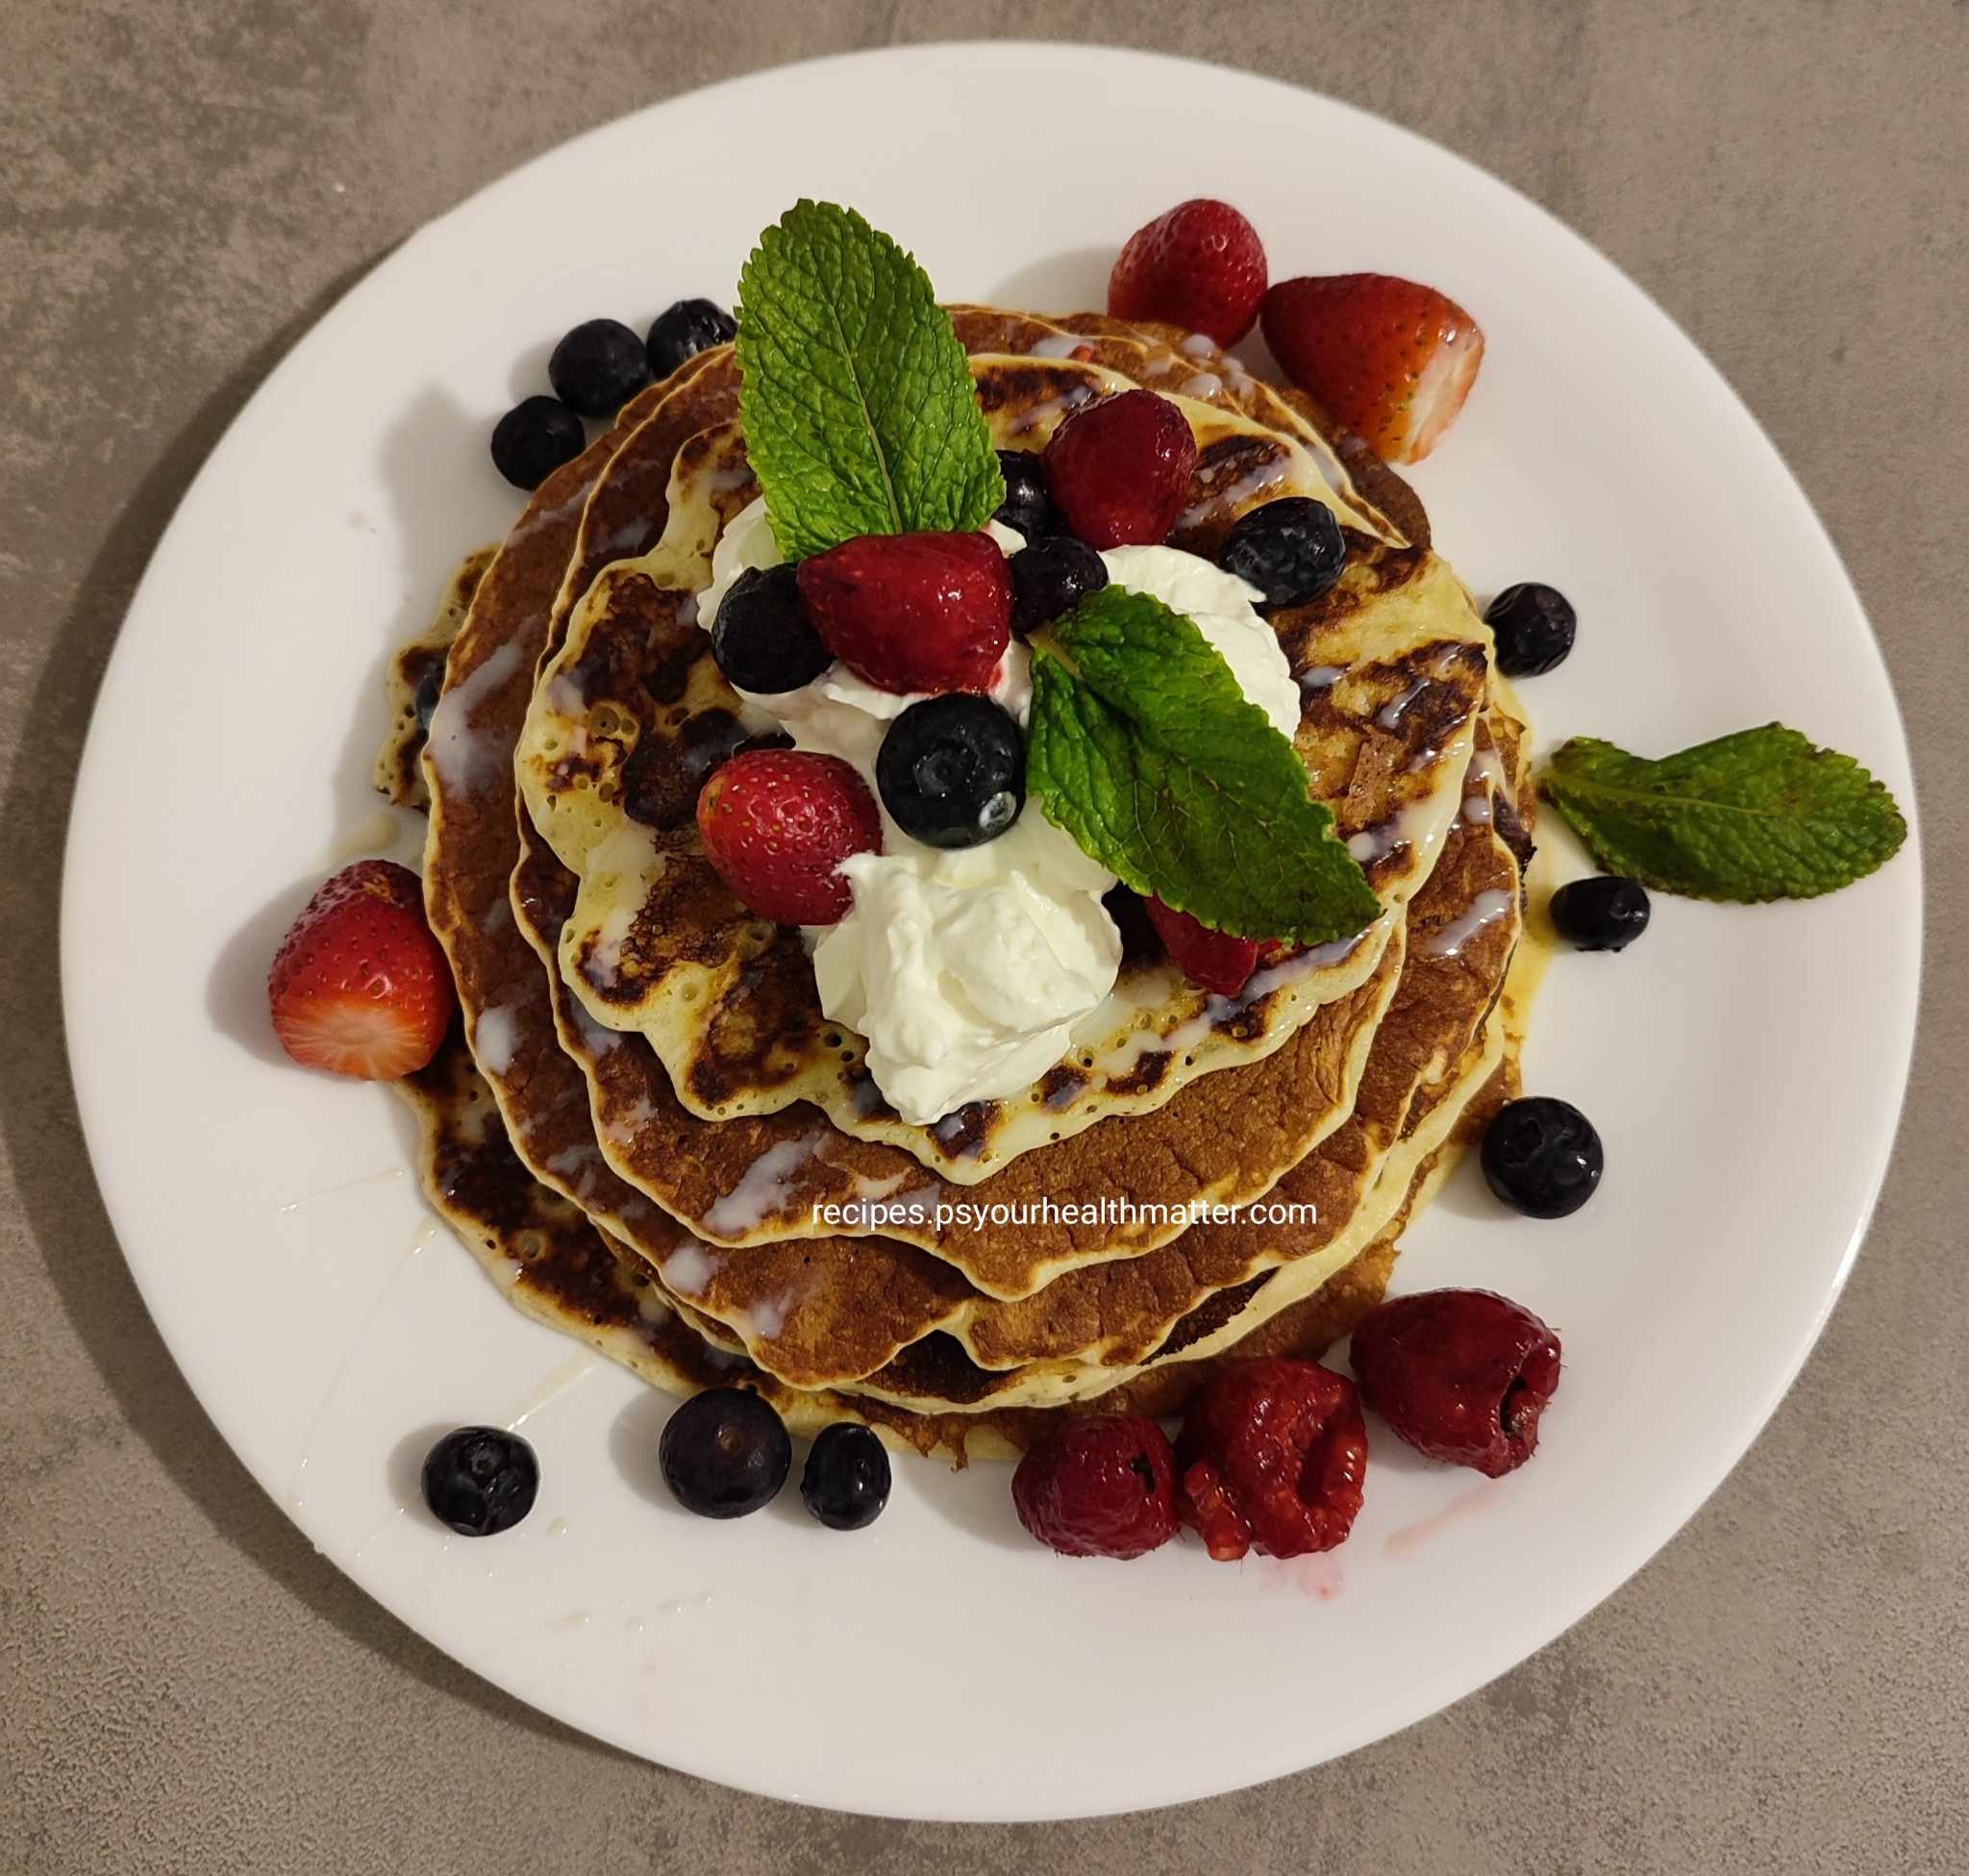
Fluffy Oat Pancakes with Fresh Berry Topping
Fluffy Oat Pancakes with Fresh Berry Topping These light and fluffy oat pancakes are a...
Read More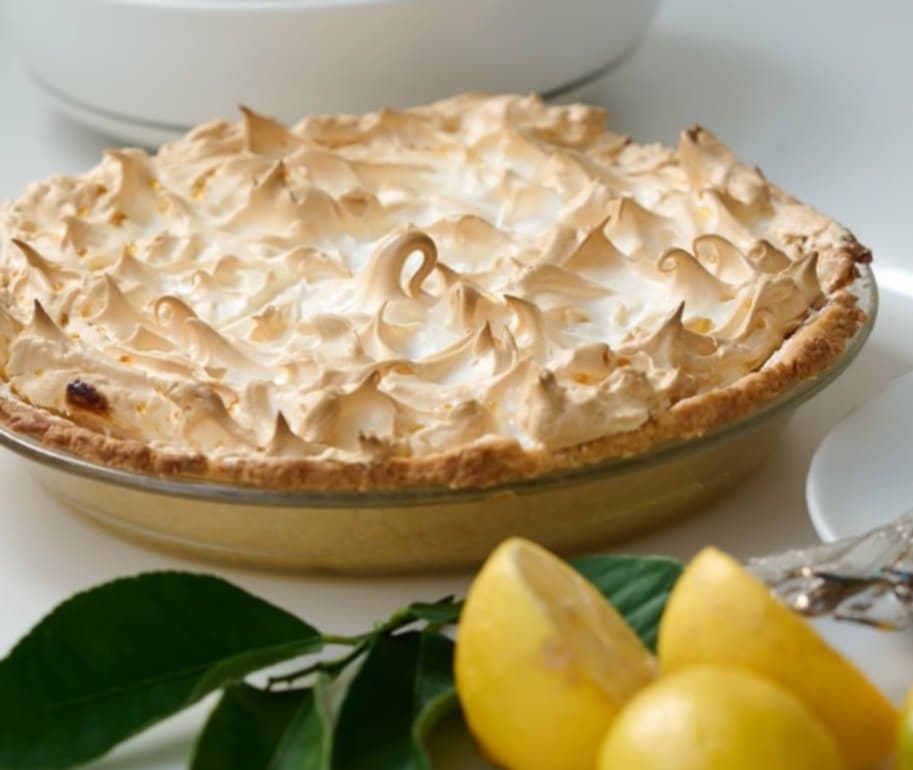
Lemon Pie Recipe
Lemon Pie Recipe Craving a tangy and refreshing dessert that won’t completely derail your Slimming...
Read More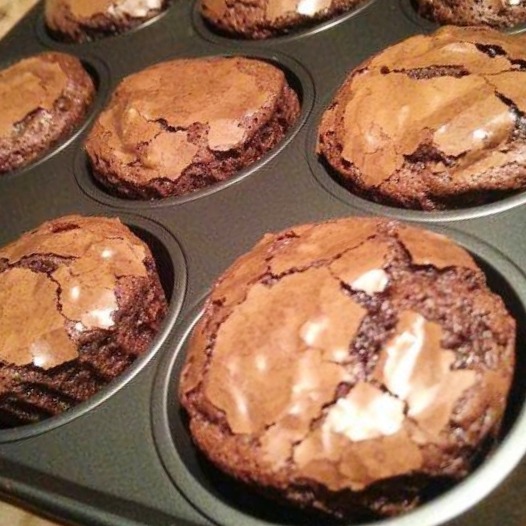
Healthy Brownie Muffins
Healthy Brownie Muffins Looking for a guilt-free treat that satisfies your chocolate cravings? These lightened-up...
Read More
Mixed Berry Jellies
Mixed Berry Jellies Simple yet elegant, these individual mixed berry jellies will be a hit...
Read More
Healthy Enchilada Lasagna – Low-Calorie & Delicious
Healthy Enchilada Lasagna – Low-Calorie & Delicious This recipe offers a lighter take on the...
Read More
Cheesy Garlic Bread
Cheesy Garlic Bread (using a Weight Watchers Wrap) Get ready to meet your new favorite...
Read More
Courgette and Carrot Bake
Courgette and Carrot Bake Introduction: This vibrant and cheesy bake is a fantastic way to...
Read More
Healthy Strawberry Mousse
Healthy Strawberry Mousse Looking for a delicious and guilt-free dessert? This Slimming-friendly strawberry mousse is...
Read More